Library Creatives: Making a Clutter Quilt
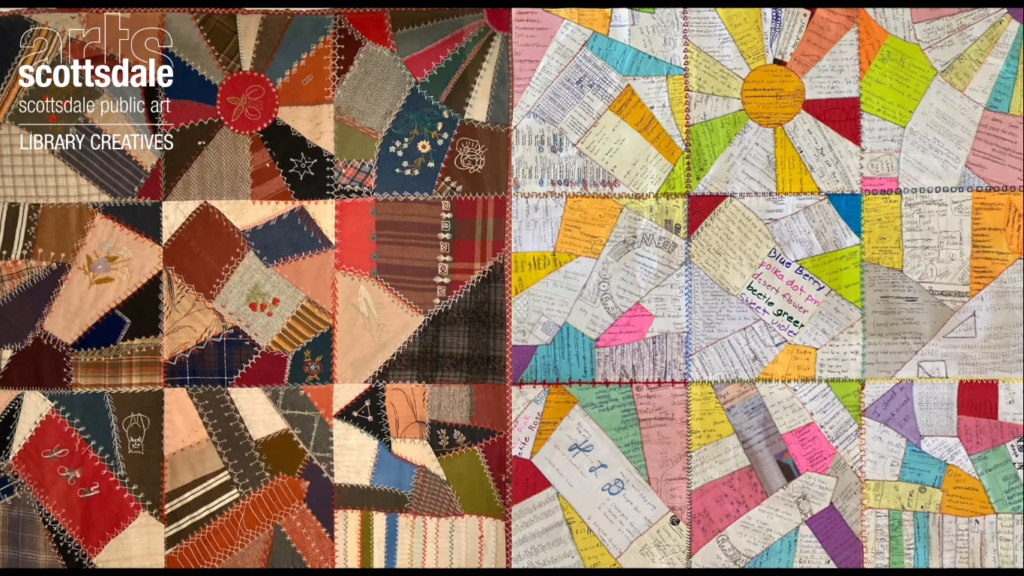
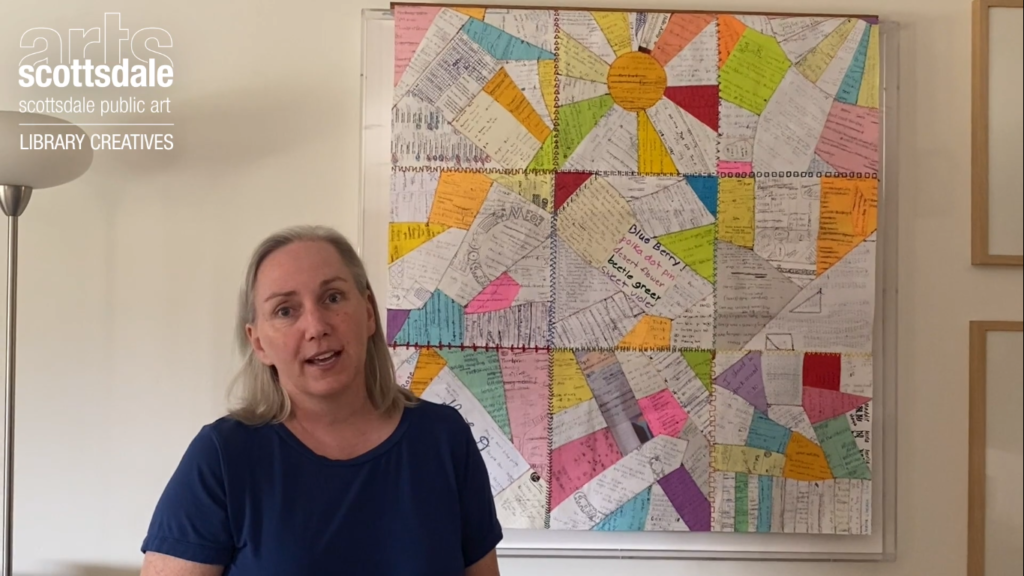
Are you an avid collector of memories but don’t know what to do with that giant box of birthday cards? Been meaning to do something with all those sports T-shirts? Do you have a lot of junk mail lying around? Take simple household items such as these and learn how to make your very own “Clutter Quilt” with local artist Heidi Dauphin, who will demonstrate how she was inspired to create her piece Great Grandma’s Crazy Quilt Transformed. No prior experience necessary, and it’s fun for all ages! Access the 30-minute video here, or follow the instructions below.
Materials needed:
- Quilt pattern. You can use an existing quilt, or you can find lots of free patterns online.
- Copy paper
- Pencil
- Ruler
- Scissors
- Markers
- Printer
- Tracing or parchment paper
- Glue stick
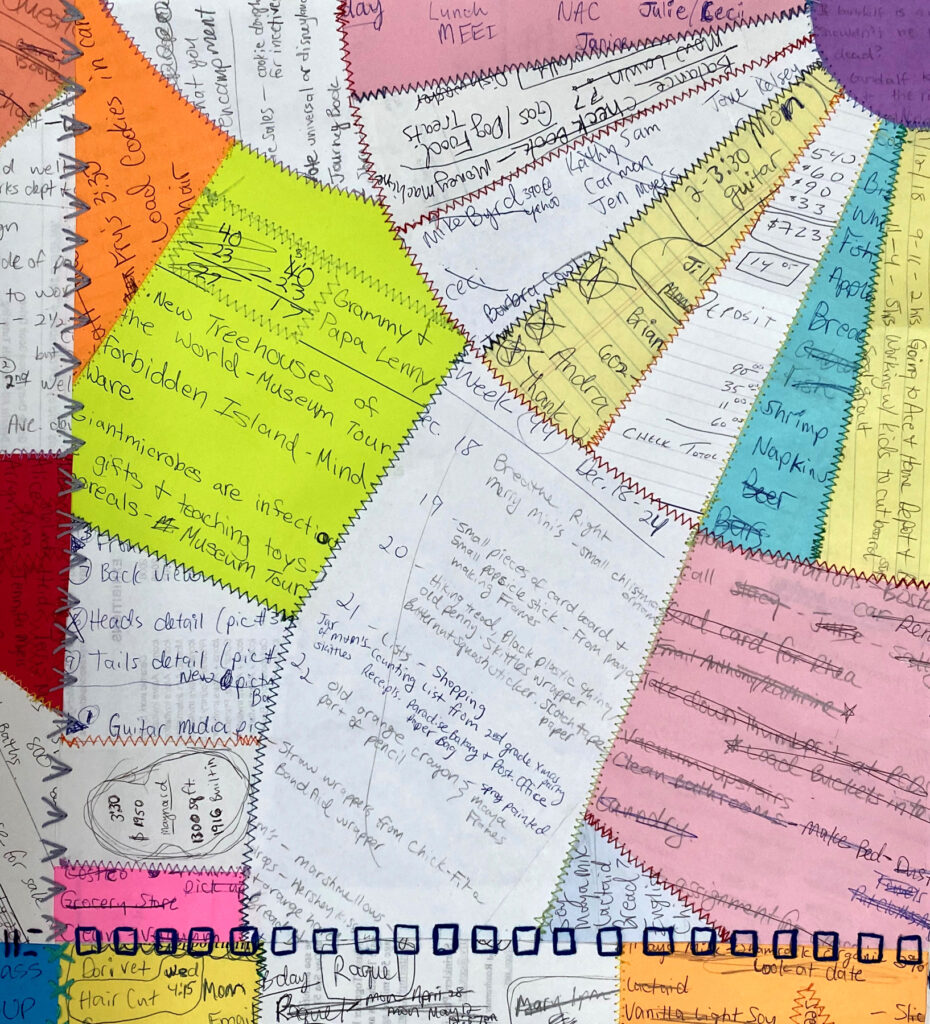
- Clutter: e.g., birthday cards, to-do lists, doodles, magazines, etc.
- Intermediate crafters also need: sewing machine, thread, and blue painter’s tape.
- Advanced crafters also need: embroidery floss, needle, and fusible interfacing.
Directions:
- Tape your tracing paper over your object/printed quilt pattern.
- Trace the pattern with a marker on the tracing paper.
- Number each individual shape. Note, if the same shape is repeated, you only need to number one of them.
- Remove taped tracing paper and set aside. Repeat Steps 1–3.
- From the additional tracing paper, cut out only the numbered shapes. This will be your pattern for each shape.
- Choose your “clutter” paper to use.
- Place the pattern where you would like to cut on your chosen paper and trace around the edge with a pencil.
- Count the number of times this shape appears on the pattern and repeat Step 7 that many times.
- Remove taped tracing paper from quilt pattern.
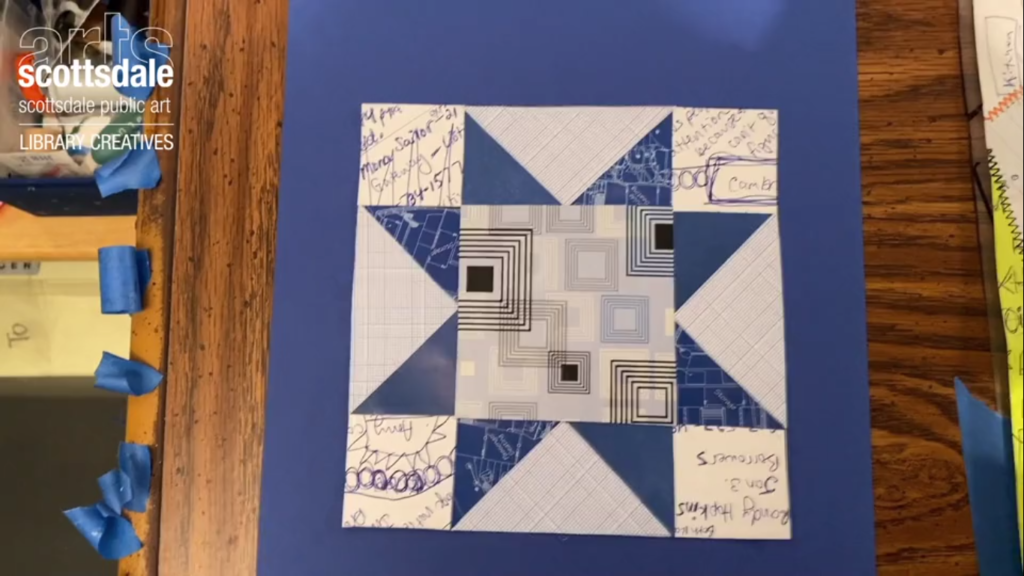
- Place each piece on your quilt pattern to make sure it fits and that you have all the right pieces.
- Flip over each shape and glue the back side with a glue stick, using a scrap piece of paper underneath to keep your table from becoming sticky.
- Glue your clutter paper shapes to the printed quilt pattern and, voila: you have one square of your clutter quilt!
This activity is in conjunction with the upcoming Artists’ Breakfast Club, 20 Years, an anniversary exhibition highlighting Arizona artists who regularly meet with the intention of fostering artistic cooperation, mutual support, and community. On display at the Civic Center Public Gallery at Scottsdale Civic Center Library from October 5 – December 31, 2020, you can see the various influences that each artist has on each other, both visually and emotionally.
Back to Spark home.
CONNECTIONS: Amplify | Immerse | Inspire